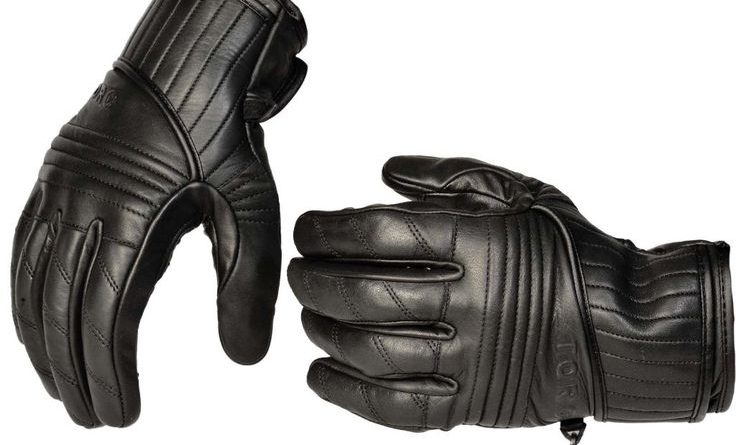
How to Clean Leather Motorcycle Gloves?
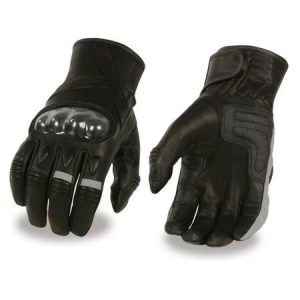
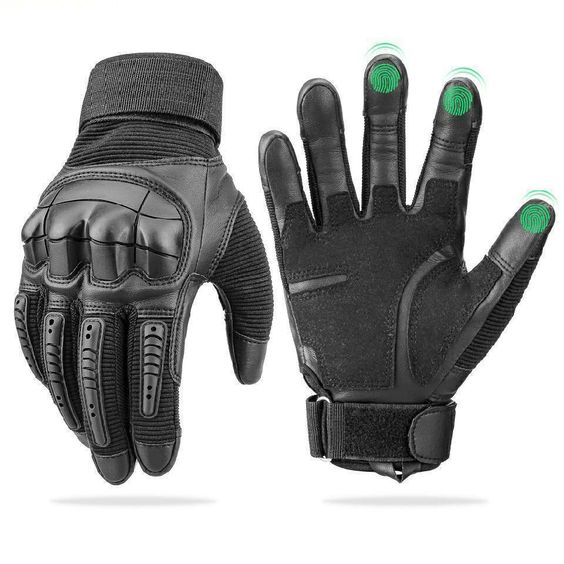
For motorcycle riders, leather gloves are an essential piece of gear. They provide crucial protection for your hands in case of an accident, and good quality leather gloves can last for years with proper care. However, unlike other riding gear, leather gloves require specific cleaning techniques to maintain their functionality and lifespan. Dirt, sweat, and road grime can build up on your gloves over time, making them stiff, uncomfortable, and less protective.
This guide will walk you through the proper steps on how to clean leather motorcycle gloves, ensuring they stay comfortable, protective, and looking their best for every ride.
Understanding Leather Types for Proper Cleaning
The first step to cleaning your leather motorcycle gloves effectively is understanding the type of leather they’re made from. Here are the two most common types of leather used in motorcycle gloves:
- Full-grain leather: This is the most premium and durable type of leather. It’s naturally water-resistant and breathable, making it ideal for motorcycle gloves. However, full-grain leather requires more delicate cleaning methods.
- Top-grain leather: This is a more affordable option than full-grain leather, but it’s still quite durable. It may have a slight coating that enhances its water resistance. Top-grain leather can tolerate slightly more aggressive cleaning techniques compared to full-grain leather.
Always consult the care instructions on your gloves for specific recommendations based on the leather type and any additional treatments applied during manufacturing.
Gathering the Necessary Cleaning Supplies
Before you begin cleaning your leather motorcycle gloves, gather the following supplies:
- A clean bowl or bucket filled with lukewarm water
- Mild dish soap or a leather cleaner specifically formulated for motorcycle gloves (avoid harsh detergents or saddle soap)
- A soft-bristled brush (ideally a horsehair brush)
- A clean, lint-free microfiber cloth
- A clean, dry towel
The Cleaning Process: Step-by-Step Guide
Here’s a detailed breakdown of the cleaning process for your leather motorcycle gloves:
-
Spot Cleaning: Before a full cleaning, address any visible dirt, debris, or stains on the gloves. Use a damp microfiber cloth to gently wipe away any surface dirt. For tougher grime, dampen the cloth with a diluted solution of lukewarm water and a few drops of mild dish soap.
-
Lather and Clean: Fill your bowl or bucket with lukewarm water and add a small amount of mild dish soap or leather cleaner. Mix the solution gently to create a light lather. Dip your soft-bristled brush (avoid stiff or abrasive brushes) into the soapy water and gently brush the exterior of the gloves. Focus on areas that tend to accumulate dirt, such as the knuckles, fingertips, and palms.
-
Pay Attention to Details: For heavily soiled areas, you can use a slightly firmer brushing motion. However, be gentle and avoid scrubbing aggressively, as this can damage the leather. Pay close attention to the seams and stitching, as dirt can easily get trapped in these areas.
-
Clean the Lining (Optional): If your gloves have a removable lining, you can clean it separately. Hand-wash the lining in lukewarm water with a mild detergent suitable for the lining material (usually nylon or polyester). Rinse thoroughly and allow it to air dry completely before reinserting it into the gloves.
-
Rinse and Remove Soap Residue: Once you’ve finished cleaning the entire glove exterior, rinse them thoroughly with clean lukewarm water. Keep rinsing until all soap residue is removed. Excess soap residue can leave the leather feeling stiff and dry.
-
Dry Thoroughly, But Avoid Heat: Never put your leather motorcycle gloves in a washing machine or dryer. The heat and agitation can damage the leather and cause shrinkage. Instead, lay the gloves flat on a clean, dry towel in a well-ventilated area away from direct sunlight or heat sources. Allow them to air dry completely, which can take 24-48 hours.
Revive and Protect Your Leather Gloves: Conditioning is Key
After your leather motorcycle gloves are completely dry, it’s crucial to condition them properly. Leather conditioner replenishes the natural oils in the leather, keeping it supple, comfortable, and water-resistant. Here’s how to condition your gloves:
-
Choose the Right Conditioner: Opt for a leather conditioner specifically formulated for motorcycle gloves. These conditioners are designed to penetrate the thicker leather used in motorcycle gloves and won’t clog any breathability features.
-
Apply Conditioner Sparingly: A little goes a long way. Apply a small amount of conditioner to a clean microfiber cloth and gently rub it into the leather in a circular motion. Pay attention to areas that tend to dry out faster, such as the knuckles and fingertips.
-
Buff and Allow Absorption: Once you’ve applied a thin layer of conditioner to the entire glove exterior, use a clean, dry microfiber cloth to buff the leather gently. This helps distribute the conditioner evenly and removes any excess product. Allow the conditioner to absorb completely for at least 30 minutes before using your gloves.
Additional Tips for Maintaining Your Leather Motorcycle Gloves
-
Clean Regularly, But Not Excessively: Aim to clean your leather motorcycle gloves after every few rides, or more frequently if exposed to heavy rain, dirt, or sweat. However, avoid over-cleaning, as this can strip away the natural oils in the leather.
-
Store Properly When Not in Use: When not in use, store your leather motorcycle gloves in a cool, dry place away from direct sunlight. Stuff the gloves with crumpled acid-free tissue paper to help them retain their shape.
-
Address Stains Promptly: Treat any spills or stains on your gloves as soon as possible. Blot up excess liquid with a clean, absorbent cloth. Depending on the stain type, you may need to use a specific leather stain remover. Always test any cleaning product on an inconspicuous area of the glove first.
-
Professional Cleaning (Optional): For heavily soiled or stained gloves, or if you’re unsure about cleaning them yourself, consider taking them to a professional leather cleaning service.
The Importance of Clean and Maintained Leather Motorcycle Gloves
Clean and well-maintained leather motorcycle gloves offer several benefits:
- Enhanced Comfort: Clean leather is supple and comfortable to wear, unlike stiff, dirty leather that can cause irritation.
- Improved Protection: Properly maintained leather offers better abrasion resistance and protection in case of an accident.
- Extended Lifespan: Regular cleaning and conditioning prevent the leather from drying out, cracking, and deteriorating, ensuring your gloves last for years to come.
- Maintained Water Resistance: Conditioning helps leather retain its natural water resistance, keeping your hands dry during light rain or splashes.
Invest in Quality Leather Motorcycle Gloves: It Pays Off
Leather motorcycle gloves are an essential investment for any rider. By following these simple cleaning and maintenance tips, you can ensure your gloves stay comfortable, protective, and looking their best for every ride. Remember, high-quality leather motorcycle gloves are designed to last for years with proper care. So, invest in a good pair and take the time to clean and condition them regularly. Your hands and your wallet will thank you for it.
Protect Your Ride, Protect Your Hands – Shop for High-Quality Leather Motorcycle Gloves Today!
Ready to experience the comfort and protection of well-maintained leather motorcycle gloves? Browse our extensive selection of high-quality motorcycle gloves from top brands. We offer a variety of styles, features, and materials to suit your riding needs and preferences. Shop now and invest in a pair of gloves that will keep you protected and comfortable for miles to come!