How to Perform an Oil Change at Home: A Comprehensive Guide
Performing basic maintenance on your vehicle is key to prolonging its life and enhancing performance. One of the most essential tasks that every car owner should know is how to perform an oil change at home. Regular oil changes help keep your engine lubricated and running smoothly. It can be a daunting process for those unfamiliar with car maintenance; however, it doesn’t have to be. With the right tools, a little patience, and a willingness to learn, you can successfully change your vehicle’s oil in your garage. This guide will provide you with all the knowledge you need—step-by-step instructions, tips for selecting the best oils, proper disposal of old oil, and essential safety precautions. By the end of this article, you’ll feel empowered to tackle this task confidently, and you will be ready to make oil changes a regular part of your vehicle maintenance routine.

Understanding the Importance of Oil Changes
To begin with, changing your vehicle’s oil is crucial for several reasons. Firstly, engine oil lubricates the moving parts in your engine, reducing friction and preventing wear and tear. Over time, the oil can become contaminated with dirt, soot, and metal particles, which can lead to engine damage if not replaced regularly. Additionally, fresh oil helps insulate engine components while enabling better heat dissipation.
Moreover, many manufacturers recommend changing the oil every 3,000 to 7,500 miles, depending on the type of oil used and driving conditions. Therefore, performing an oil change at home saves you money and allows you to keep track of your vehicle’s maintenance schedule. Understanding the necessity of oil changes fosters a proactive approach to vehicle maintenance, ensuring longevity and optimal performance.
Essential Tools and Materials
Before starting, it’s crucial to gather the necessary tools and materials for your oil change. Here’s a detailed list of everything you will need:
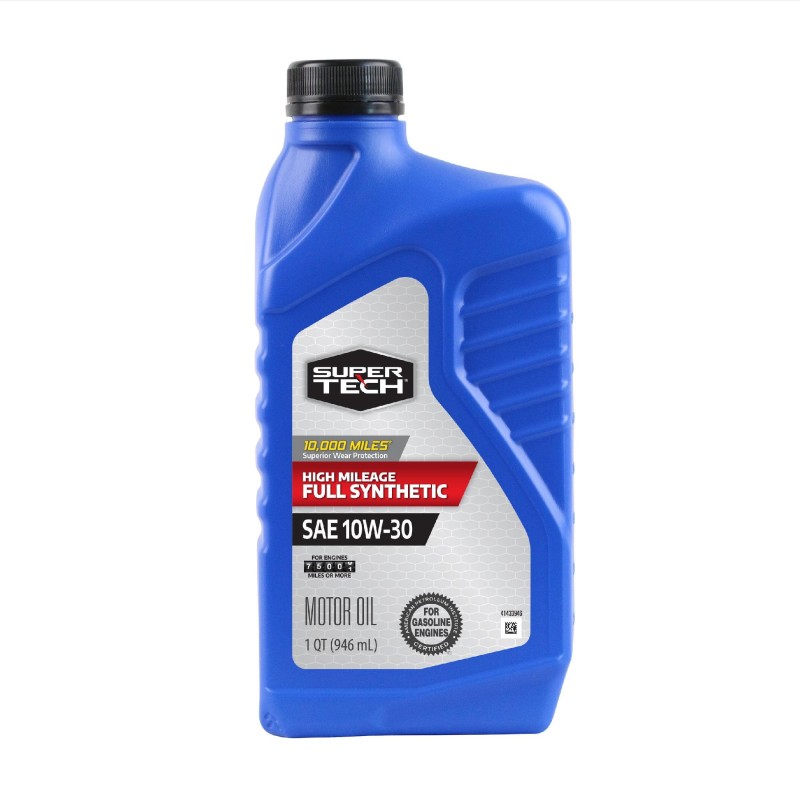
- Oil: Check your owner’s manual for the correct type and viscosity.
- Oil filter: Ensure you have a new one that matches your vehicle model.
- Oil filter wrench: This tool will help you remove the old oil filter.
- Socket set or wrench: You’ll need this to remove the oil drain plug.
- Oil catch pan: This will catch the old oil as it drains.
- Funnel: Using a funnel will help pour the new oil without spills.
- Rags or paper towels: These are useful for cleaning up spills.
- Safety goggles and gloves: Protect your eyes and skin during the process.
- Car jack and jack stands: These are essential for lifting your car safely.
Having all of your materials organized before you start not only streamlines the process but also makes it more efficient and less stressful.
Steps to Perform an Oil Change at Home
Now that you have your materials ready, it’s time to dive into the detailed steps on how to perform an oil change at home.
- Prepare Your Workspace: First, ensure your vehicle is parked on a level surface. Set the parking brake and turn off the engine. Open the hood and remove the oil filler cap; this allows oil to drain smoothly.
- Lift the Car: If necessary, use a car jack to lift the front of your vehicle. However, make sure to use jack stands to secure it in place. Never rely solely on the jack for support while working underneath the car.
- Drain the Old Oil: Next, place the oil catch pan under the oil drain plug located at the bottom of the oil pan. Use your socket or wrench to loosen the drain plug and allow the old oil to flow into the catch pan. Remember to be cautious as the oil may be hot.
- Replace the Oil Filter: While the oil is draining, locate the oil filter. Use the oil filter wrench to unscrew it. Before installing the new filter, apply a little new oil on the rubber gasket of the new filter to ensure it seats properly. Install the new filter by hand, making sure it’s tightened securely, but do not overtighten.
- Reinstall the Drain Plug: Once all the old oil has drained, replace the drain plug and tighten it securely.
- Add New Oil: Using a funnel, pour the new oil into the oil filler neck. Again, refer to your owner’s manual for the correct amount. Once filled, replace the oil filler cap.
- Check Oil Level: Start the engine and let it run for a minute while checking for leaks around the drain plug and filter. Afterward, turn off the engine, wait a few minutes, and then use the dipstick to check the oil level. Add more oil if necessary.
- Dispose of Old Oil: Finally, the last step is to dispose of the old oil and filter properly. Many local auto parts stores, municipalities, or recycling centers offer oil recycling programs. Therefore, don’t just dump it down the drain; it’s harmful to the environment.

Common Mistakes to Avoid
When learning how to perform an oil change at home, it’s common to make mistakes. Here are some pitfalls to watch out for:
- Using the Wrong Oil: Always refer to your owner’s manual to confirm the correct oil type and viscosity. Using the wrong oil can jeopardize your engine’s performance.
- Neglecting the Filter: Failing to replace the oil filter can result in poor oil quality. Always make it a point to replace the filter during an oil change.
- Overfilling or Underfilling Oil: Remember to check the oil level after adding new oil. Don’t rely solely on estimates; use the dipstick for accuracy.
- Not Properly Securing Components: After replacing the drain plug and oil filter, ensure they are both securely tightened. Leaks from loose components can lead to serious engine problems.
- Forgetting Disposal: Finally, make sure to dispose of the old oil and filter responsibly to avoid environmental damage.
Safety Precautions
Safety is paramount when working on your vehicle. Here are some crucial precautions:
- Work in a Well-Ventilated Area: Ensure your workspace is well-ventilated to avoid inhaling fumes.
- Use Protective Gear: Wearing safety goggles and gloves can protect you from splashes and sharp edges.
- Be Cautious with Hot Components: Engine parts can be hot after use, so be careful when working around them.
- Ensure Stability: Always use jack stands to support the vehicle when it is lifted. Never work underneath a car that is only supported by a jack.
Benefits of DIY Oil Changes
Performing an oil change at home offers numerous advantages. For starters, it not only saves you money, but also provides you with important knowledge about your vehicle.
- Cost-Effective: Professional oil changes can range from $30 to $100 or more, depending on location and services. By doing it yourself, you significantly cut down on costs.
- Educational Experience: Learning how to change your oil enhances your understanding of automotive maintenance. This experience can serve as a stepping stone to more advanced DIY projects.
- Customized Schedule: Performing oil changes at your convenience helps you maintain a consistent schedule based on your driving habits.
- Quality Control: You have full control over the quality of oil and filters used, thus helping to ensure your vehicle gets the best care possible.

Conclusion
In conclusion, now that you know how to perform an oil change at home, you possess the tools and knowledge necessary to maintain your vehicle effectively. With regular oil changes, you not only prolong the life of your engine, but you also enhance your vehicle’s overall performance. The process is straightforward and can save you a considerable amount of money over the years. Remember to follow the steps carefully, avoid common mistakes, and prioritize safety. By embracing responsible car maintenance, you’ll develop a deeper appreciation for your vehicle while also enjoying the satisfaction that comes with DIY projects. So roll up your sleeves, gather your tools, and get started on your journey as a competent car owner today!
